How to Apply Highlighter
Contents
hide
How to Apply Highlighter Like a Pro
Highlighter makeup adds a gorgeous, luminous glow to the face. It accentuates the high points of the features. Highlighter creates dimension and radiance. However, many people struggle with where to apply highlighter. They end up with an unflattering stripy look. Use these pro tips for a flawless, natural-looking highlighted complexion every time.
Start With a Hydrated Base
How to apply highlighter?Smooth, hydrated skin helps highlighter appear its most radiant. Always apply highlighter over a moisturized base. Skincare products plump up the skin’s surface. This gives highlighter an even, fresh-looking canvas. Dry, flaky skin causes highlighters to appear patchy and cling to texture.
Use a Liquid or Cream First
For the most seamless, lit-from-within glow, layer cream or liquid highlighter under powder. The liquid product melds into the skin. This creates a subtle base luminosity that looks natural. Powders then amplify and heighten the radiance. Using only powder can result in a heavy, stark glow that looks artificial.
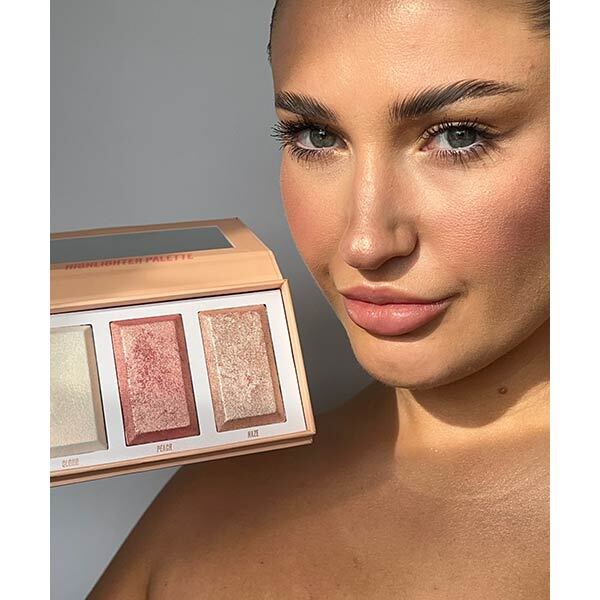
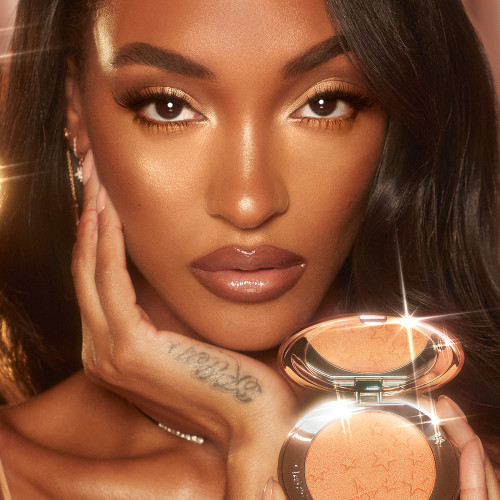
Find Your Correct Shade
Select a highlighter shade with the right undertones for your skin. Fair skin tones look best with icy pearl or champagne highlighters. Olive complexions radiate with golden or bronze highlights. For deeper skin, try rich copper or rose gold hues. Picking the wrong undertone makes the glow appear ashy or ruddy.
Identify the High Planes
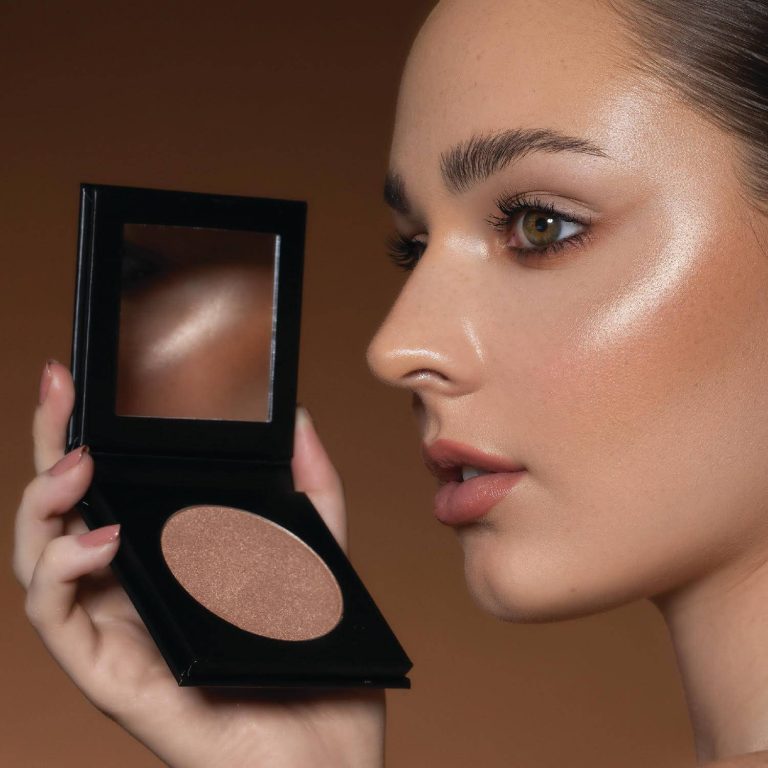
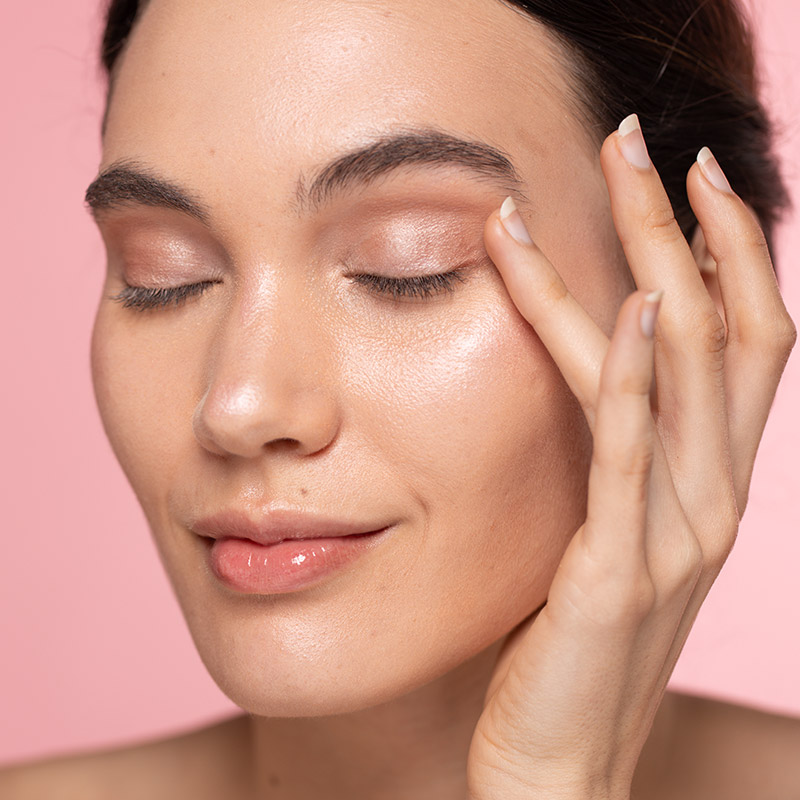
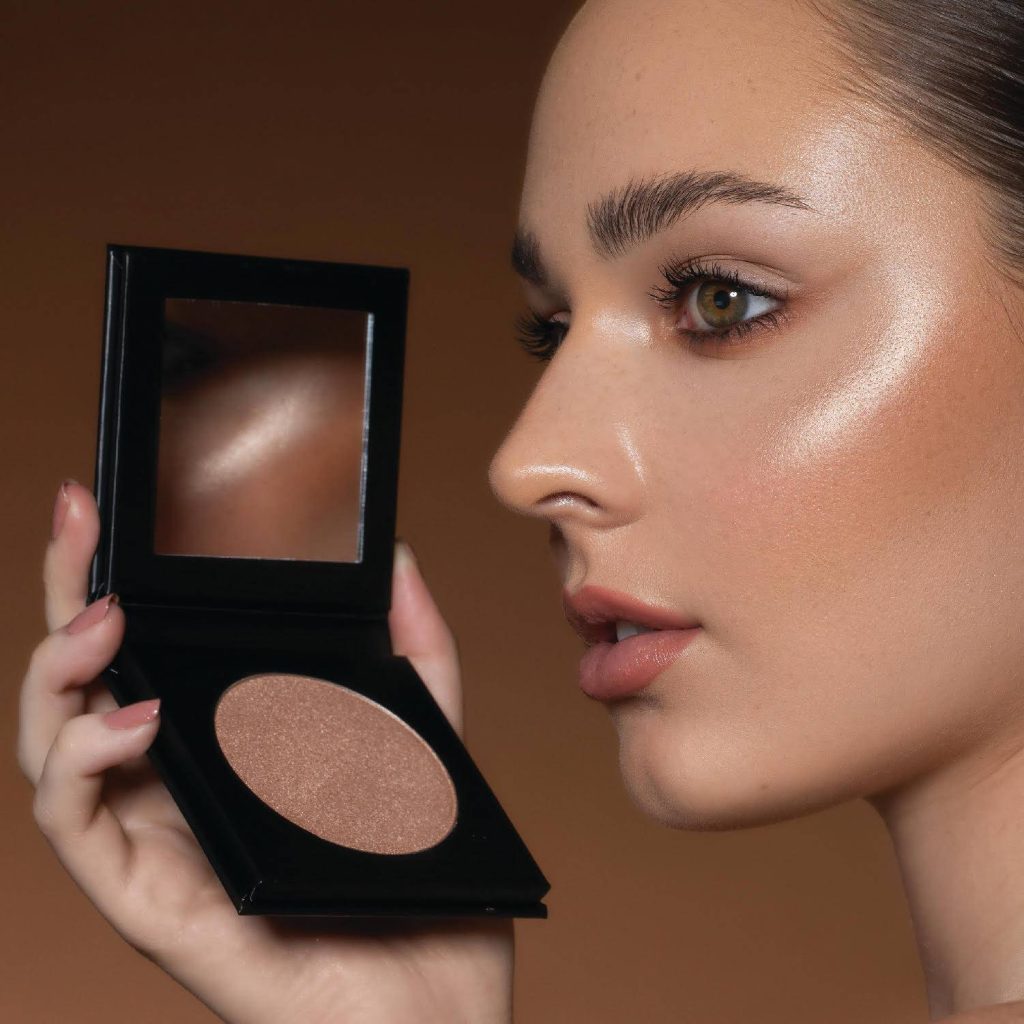
The raised areas that catch the most light make ideal highlighter zones. Key areas include cheekbones, browbones, the cupid’s bow, the tip of the nose, and the center of the forehead. Lightly sweep highlighter along these planes to bring them forward.
Go Easy on Application
Highlighters pack concentrated pigment and shimmer. It’s very easy to go overboard and end up with a stripy finish. Start with a small amount of product and slowly build coverage. Use a light hand and sheer layers. Too much can overwhelm the features.
Use the Right Brushes
A fan brush gives the most precise, seamless highlighter application. The fluffy bristles disperse pigment evenly over a broad area. A small tapered brush works nicely for targeted highlighting on smaller areas like down the nose. Rounded cheek brushes work well for applying to the high points of cheeks.
Blend, Blend, Blend
Blending is crucial for a smooth, cohesive highlighted look. After applying, always buff the edges outward. This diffuses harsh lines for a softer, more natural effect. Small circular motions also help blend highlighter seamlessly into the skin. The result appears fresh, not caked-on.
Layer Powder over Cream
For maximum intensity, layer powder highlighter over cream. The creamy base gives a radiant candlelit effect. Powder boosts the look with extra metallic sheen. Focus powder highlighter on the very tops of cheekbones for extra pop. Keep the powder concentrated only on the raised planes.
Use Different Finishes
Experiment with cream, powder, baked, and liquid highlighter finishes. Each creates a unique type of radiant glow. Liquid highlighters offer subtle, all-over luminosity. Creams look dewy and fresh. Powders deliver an intense metallic sheen. Baked highlighters create multidimensional, lit-from-within dimension. Mixing finishes adds gorgeous, multifaceted depth.
Highlight by Feature
For a precise, contoured glow, highlight one feature at a time. Focus on just the cheekbones first. Then move to the browbones, and finish with the cupid’s bow. Sectioning off the highlighting zones prevents an over-applied look. It creates polish and intention.

Play With Placement
Strategic highlighter placement creates beautiful illusions. Applying highlighter directly to the browbone area brightens the eyes. Highlighting down the bridge of the nose makes it appear slimmer and more chiseled. Swirling highlighter on the cheekbones projects a youthful, lifted look.
Pair With a Subtle Flush
A soft swirl of cream blush alongside highlighter looks stunning. The rosy tint complements the glowing areas. It adds a fresh, pretty radiance all-over. Too much blush near highlighter can look ruddy or overdone. Keep any powder blush very diffused and sheer.
Finish With Setting Spray
Lock in your highlighted look with a makeup setting spray. Spritz the face once all glowing areas are perfected. Setting sprays meld powders and creams together seamlessly. They extend wear and prevent fading or caking. The highlighted areas will now stay fresh for hours.
With these pro highlighter techniques, anyone can achieve an incredible radiant makeup look. A targeted, seamless highlighting sculpts and illuminates the face like magic. It brings out natural beauty and enhances bone structure. Mastering highlighter application is the key to a smooth, angelic glow from every angle.
Conclusion
Mastering the art of applying highlighter is essential for creating a radiant and glowing makeup look. The key to successful highlighter application lies in understanding your facial features and knowing how to accentuate them effectively. By incorporating highlighter into your makeup routine, you can enhance your natural bone structure and achieve a luminous, healthy-looking complexion.
When applying highlighter, it’s crucial to choose the right formula and shade that complements your skin tone. Whether it’s a powder, cream, or liquid highlighter, selecting the appropriate texture is essential for achieving the desired effect. Additionally, considering your skin type and the areas you want to highlight will also play a key role in determining the ideal highlighter product for you.
The application technique is equally important. Using the right tools, such as a fan brush, tapered highlighting brush, or a damp makeup sponge, can help achieve a seamless and blended application. Whether you prefer a subtle glow or a more intense highlight, the application method will greatly impact the end result.
Understanding the placement of highlighter is critical for achieving a flattering and natural-looking glow. Typically, the high points of the face, including the cheekbones, brow bones, bridge of the nose, and cupid’s bow, are the primary areas where highlighter is applied. By strategically placing the product on these areas, you can create dimension and luminosity, resulting in a radiant and sculpted appearance.
It’s important to remember that less is often more when it comes to highlighter application. Building the product gradually and blending it seamlessly into the skin will ensure a beautiful and polished finish. Additionally, taking into account the lighting conditions in which you’ll be seen can also influence the intensity of the highlighter application.