
Master Eyeliner Step by Step: Your Foolproof Guide
Contents
hide
Gathering the Essential Tools for Eyeliner Application
For any makeup enthusiast, knowing the right tools is the first step to eyeliner perfection. Eyeliner step by step guide:Here are the essentials needed:
- Eyeliner – Choose between pencil, liquid, gel, or even eyeshadow for a powdered line.
- Primer – This will help to create a smooth base and make the eyeliner last longer.
- Makeup Remover – A must-have for correcting any mistakes and ensuring sharp lines.
- Fine Brush – If you’re using gel eyeliner, a fine brush is necessary for precision.
- Eyeshadow – Useful for setting the eyeliner or creating a base color.
- Q-Tips – For fixing errors and refining edges.
Each tool plays a pivotal role in the application process, and combined, they provide a pathway to achieve the look you desire, be it a simple lined effect or a dramatic wing. Selecting the right type of eyeliner is also crucial as it impacts the ease of application and the final look. Waterproof options can be especially useful to prevent smudging and ensure that your makeup withstands any condition.
Remember to opt for tools that feel comfortable in your hands, offering control and stability — key factors in mastering eyeliner application.
Preparing Your Eyes for Makeup
Before diving into the eyeliner step by step, prepping the eye area is essential. Here are some tips to ensure your eyes are ready for makeup:
- Cleanse the Eye Area: Use a gentle makeup remover to cleanse away any oils or residue.
- Moisturize: Apply a light eye cream to hydrate and provide a smooth surface for makeup.
- Apply Primer: A primer will create an even base, increase the longevity of your eyeliner, and prevent smudging.
- Conceal if Necessary: For dark circles or discoloration, use a concealer before setting with a light powder.
These steps will not only help your eyeliner look better but also assist it in lasting throughout the day. Ensuring that your eyes are properly prepared is the foundation for a stunning eyeliner application.
Techniques for Different Eyeliner Types
Pencil Eyeliner Application
Pencil eyeliners are the most user-friendly type. They’re great for smudging and creating soft lines. For application:
- Sharpen the pencil for precision.
- Gently pull your eyelid taut, if necessary.
- Draw small strokes close to your lash line.
- Connect the strokes smoothly.
- Smudge for a softer look with a brush or cotton swab.
Mastering Liquid Eyeliner
Liquid eyeliner is perfect for sharp, defined lines. Here’s how to apply it:
- Steady your hand by resting your elbow.
- Start from the mid-eye and move towards the corners.
- Draw thin lines first, then build up thickness.
- Use small strokes to connect and refine.
The Precision of Gel Eyeliners
Gel eyeliners offer control and a semi-permanent finish. Use these tips:
- Dip a fine brush into the gel pot.
- Wipe off excess on the jar’s edge.
- Start at the inner corner and glide along the lash line.
- For wings, sketch the shape with small lines first.
Using Powder Eyeliner for a Soft Look
Powder eyeliner gives a diffused effect. Here’s how to use it:
- Choose an angled brush for best results.
- Dab brush in eyeshadow and tap off excess.
- Press the powder along the lash line.
- Blend across for a soft, smoky finish.
Each eyeliner type adds a different touch to your style. Experiment to find your best look. Practice these steps to achieve eyeliner step by step with ease.
Step-by-Step Guide to Flawless Eyeliner
Now that we’ve covered the basics, let’s dive into the step-by-step guide to flawless eyeliner. Applying eyeliner can enhance your eyes dramatically. It can turn everyday eyes into glamorous highlights of your face, but only with the right techniques.
Creating the Basic Line
Start with a clean eyelid. Use primer for a clean base that helps the eyeliner stick. Begin at the inner corner of your eye, drawing a thin line along the base of your eyelashes. Be sure to keep the line as close to the lashes as possible. If you’re using pencil eyeliner, make small dashes and then connect them. With liquid or gel, use a steady hand to draw a continuous line. Remember, practice makes perfect, so don’t get discouraged if it’s not flawless the first time.
Mastering the Winged Effect
The wing is all about precision and angle. Start by following the basic line guide, then when you reach the outer corner of your eye, draw a thin line angling upwards towards the end of your eyebrow. This line should create a slight wing shape. Go back to the tip of the wing and connect it back to the main line on your eyelid, filling in the space to complete the wing. If you make a mistake, use a Q-tip with makeup remover to sharpen and correct the wing.
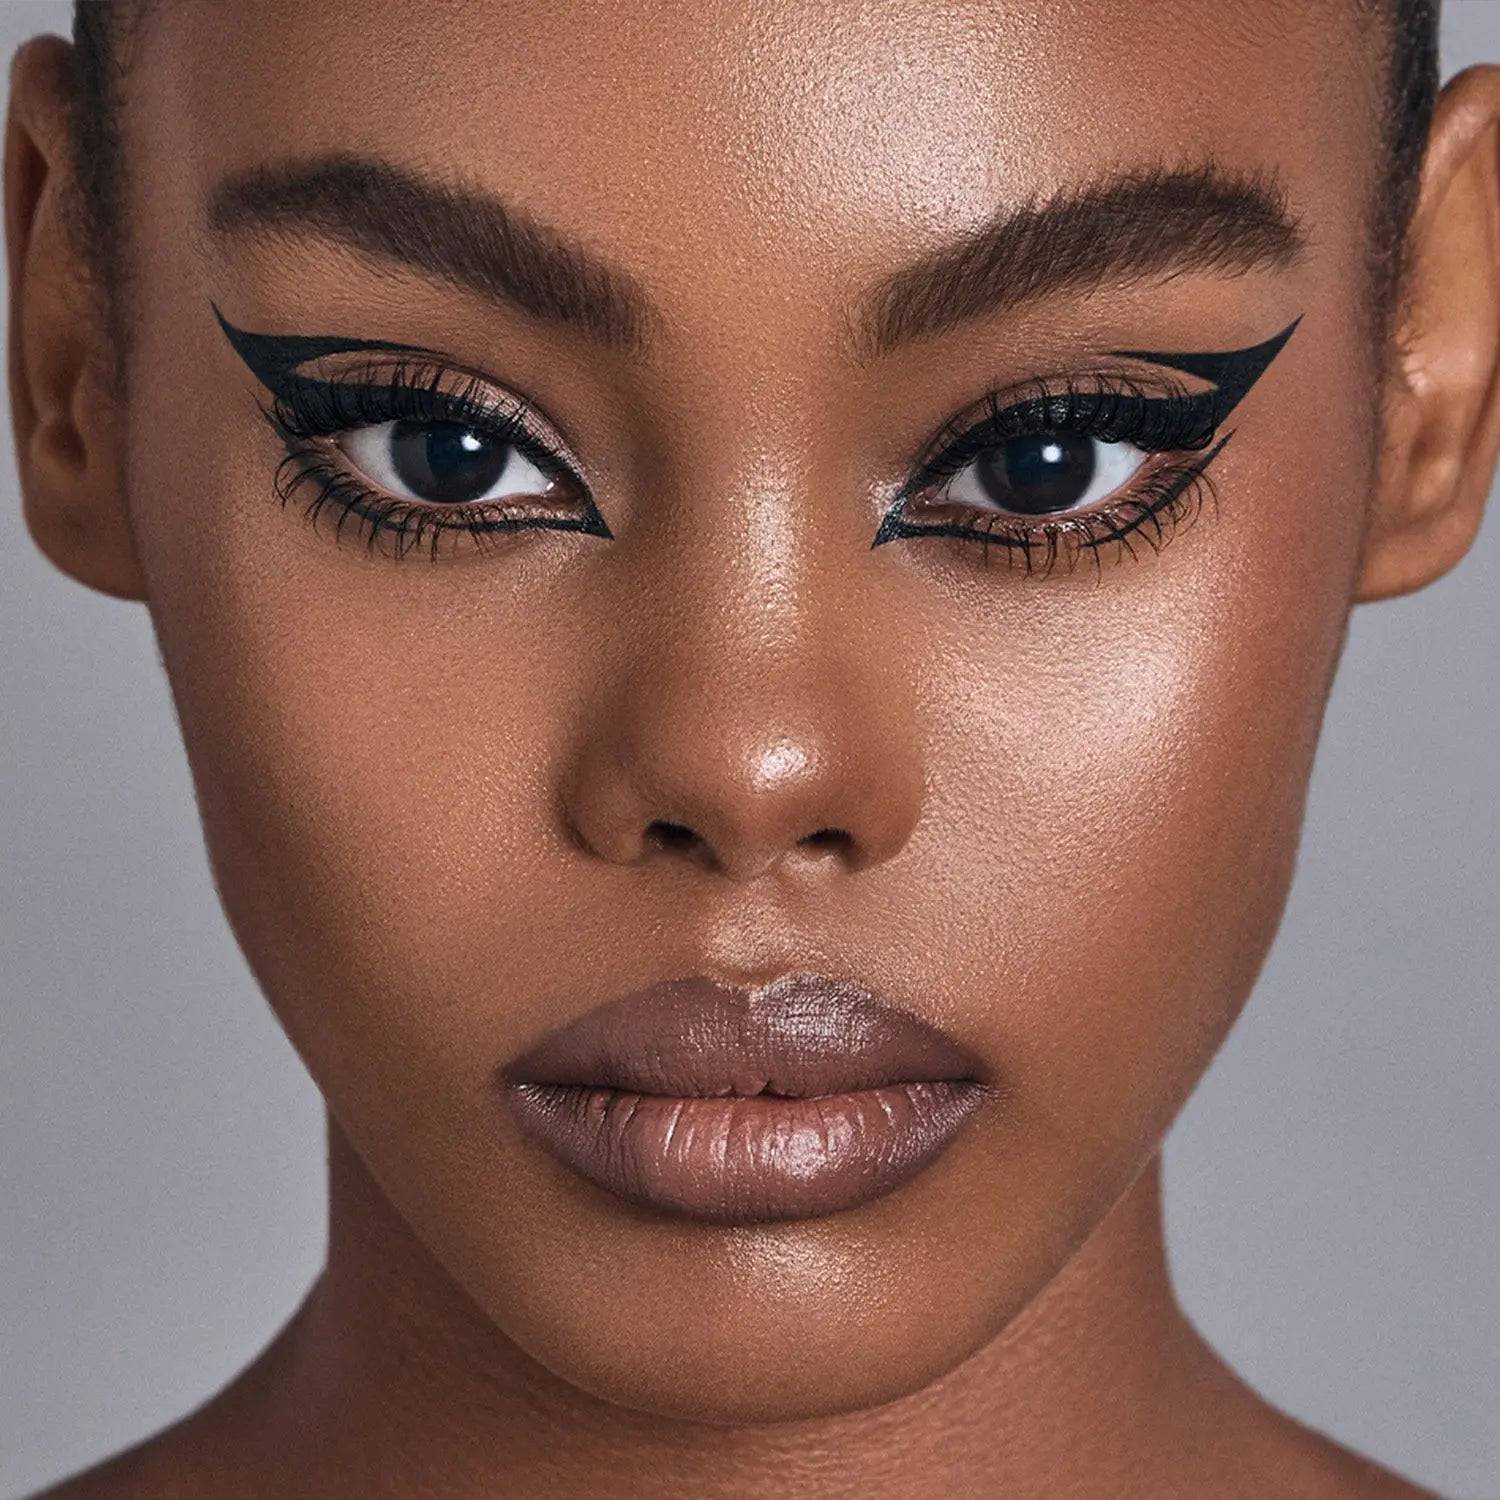
Achieving a Perfect Cat Eye
For a cat eye, the winged line gets a little twist. Make your basic line thicker towards the outer corner of your eye. Then, angle your wing more horizontally than the winged eyeliner. This look is bolder and requires a little more eyelid space. Use smaller strokes to handle the curve better and avoid jagged lines. Once again, a Q-tip can be your best friend in achieving that sleek, smooth line.
By following these steps, you’re well on your way to mastering eyeliner step by step. Remember, each look requires patience and practice, so keep experimenting until you find the application that best suits your style and eye shape.
Common Mistakes and How to Avoid Them
Applying eyeliner is an art, and like any art, it can come with its share of mistakes. Here are some common errors and tips on how to dodge them:
Matching the Wings
Many struggle to make both eyeliner wings look the same. To avoid this, start by marking points where each wing will end before drawing. Use these marks as a guide to get symmetrical wings. Correct mismatches with a small brush dipped in makeup remover.
Thickness and Symmetry Issues
Getting even lines can be tough. Start with a thin line and build up. Don’t rush; go slow and steady. If one side turns out thicker, use a cotton swab to gently remove excess. Remember that the line’s thickness should match your eye shape and size. For larger eyes, a bolder line works well, for smaller eyes, a thin line is more appropriate.
By being mindful of these common errors and using these simple corrective measures, you’ll be on your way to perfecting your eyeliner application.
Tips and Tricks for Long-Lasting and Smudge-Free Eyeliner
Achieving that perfect eyeliner that stays all day and doesn’t smudge is a makeup goal for many. Here are some trusted tips and tricks to help you ensure your eyeliner remains as pristine as when you first applied it:
- Start with a Primer: A primer forms a base that grips onto your eyeliner, thereby increasing its staying power.
- Waterproof Formulas: Opt for waterproof eyeliners; these are formulated to resist moisture, sweat, and oil.
- Setting with Powder: After applying eyeliner, gently press a matching eyeshadow on top. This sets the liner and adds intensity.
- Use Eyeliner Sealant: A clear liquid sealant applied over the liner can lock it in place.
- Avoid Touching Your Eyes: Touching or rubbing your eyes throughout the day can cause the eyeliner to smudge.
- Store Liner Properly: Keep your liner pen tightly capped or your gel liner jar closed to prevent drying out. Dried-out products don’t apply smoothly and are more likely to flake.
- Sealing with Concealer: Use a small brush to apply concealer around the edges of your eyeliner. This cleans up the line and forms a barrier.
- Proper Removal: At the end of the day, use a gentle, oil-based remover. This ensures all traces of liner are removed and your skin is prepped for the next application.
By incorporating these steps into your routine, your eyeliner will look flawless from morning till night. Stick to these guidelines, and smudges will be a thing of the past!
FAQs on Eyeliner Application
When it comes to perfecting your eyeliner game, questions abound. Here are some FAQs with concise solutions to common eyeliner dilemmas:
Tips for Beginners
For those starting out with eyeliner, consideration is key. Choose simple techniques and easy-to-use products:
- Start with a pencil eyeliner as it allows more control.
- Use a primer to prolong the eyeliner’s wear.
- Rest your elbow on a table for a steady hand.
- Begin your line with small dashes and connect them.
- Don’t tug too hard on your eye; keep the skin relaxed.
- If you make a mistake, a dab of makeup remover on a Q-Tip can clean it up.
Making Eyeliner Last in Different Conditions
Eyeliner longevity is crucial, especially in different weather or skin conditions. Here’s how to maintain it:
- Use a waterproof eyeliner formula to resist sweat and humidity.
- Apply an eyeshadow primer to keep your eyeliner from fading.
- Set your eyeliner with a matching eyeshadow powder.
- Keep your hands off your eyes to avoid smudging.
Correcting Eyeliner Mistakes Without Ruining Makeup
Mistakes happen, but they don’t have to ruin your look. Use these tips:
- Have makeup remover and Q-Tips ready for quick fixes.
- Use concealer to outline and clean up the edges.
- If your line is too thick, gently use a cotton swab to thin it out.
- Practice makes perfect, so don’t be disheartened by errors.
Practicing these answers will boost your confidence and skill in eyeliner application. With patience and the right methods, you’ll be creating flawless eyeliner looks in no time.

