How to Apply Blush
Contents
hide
The Art of Applying Blush Flawlessly Every Time
Blush serves a powerful purpose in any makeup look. It breathes life and radiance into the complexion. The right application sculpts and flatters facial features. Blush provides warmth, dimension, and youthful vitality. How to apply blush?Mastering the art of applying it proves crucial.
From powder to cream to liquid formulas, blush application varies. Undertones, skin type, and desired effect factor in too. This comprehensive guide covers all the essential tips and tricks. It ensures a flawless, natural-looking flush every single time.
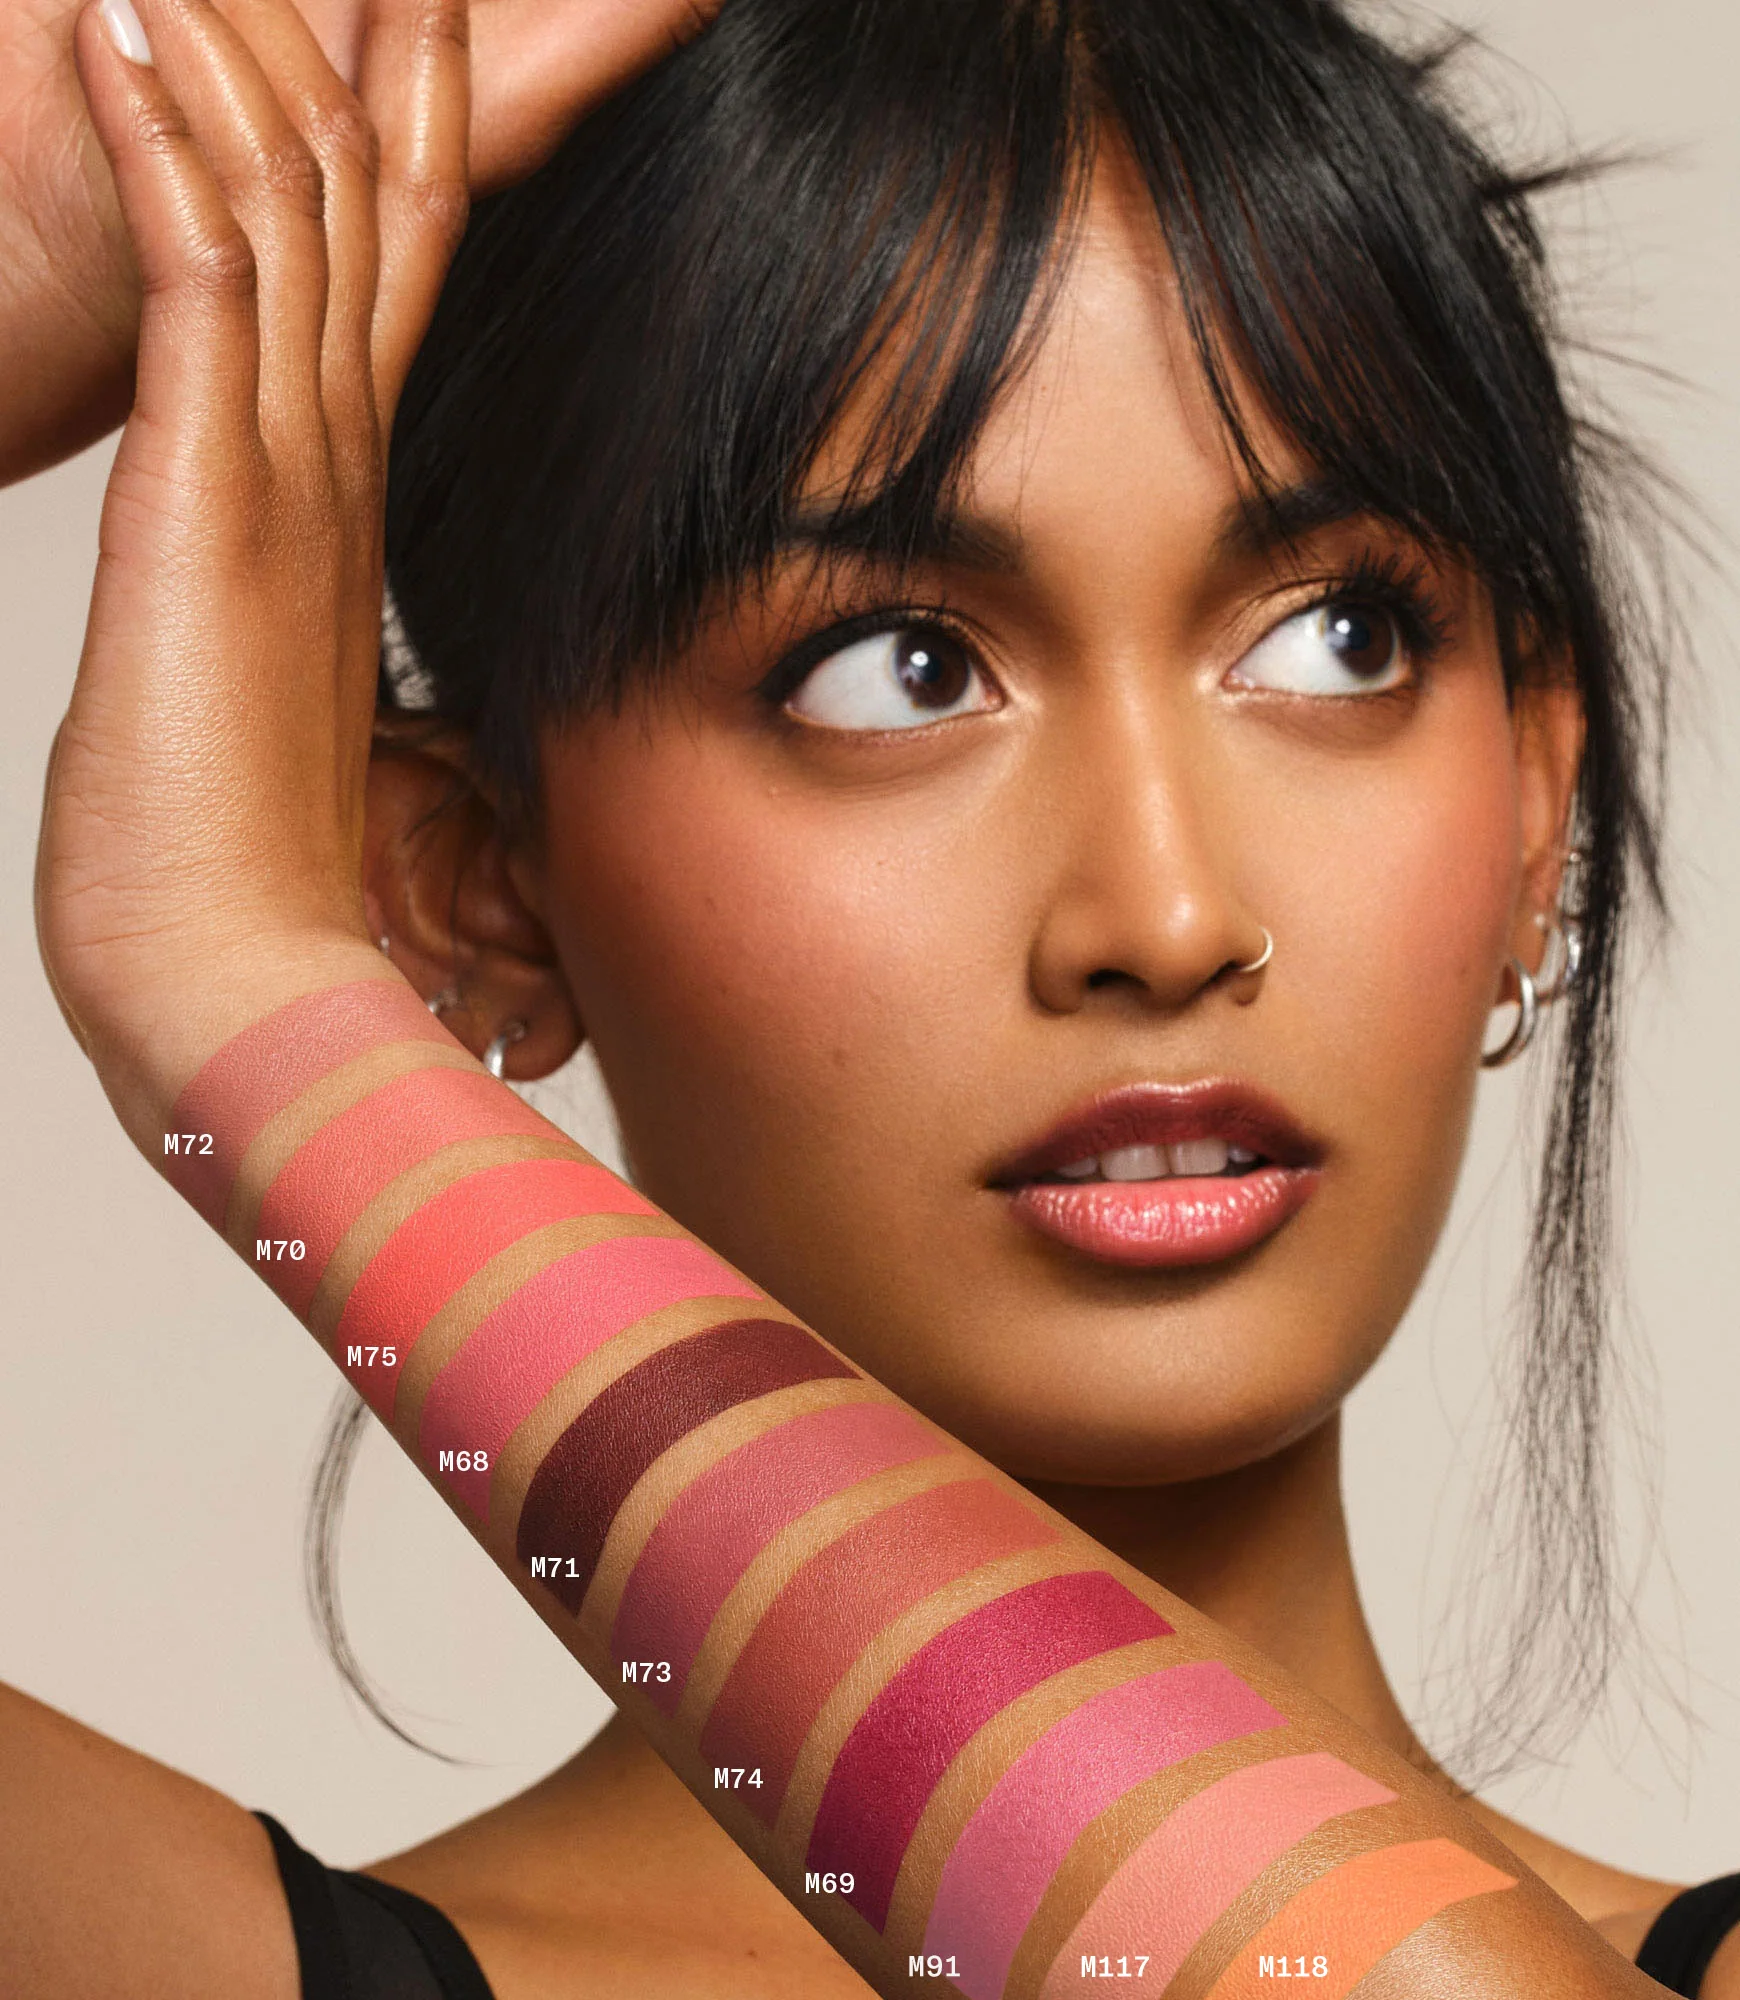
Choosing the Right Blush Shade
The perfect blush color creates a fresh, flushed glow. Too cool and cheeks appear ruddy or sunburnt. Too warm and the effect looks overly bronzed or ashy.
Fair and cool skin tones shine with rosy pinks and blue-toned plums. Warmer hues like peach, coral, and terracotta flatter olive and golden complexions. Deeper skin glows with richer berries, magentas, and tangerines.
When in doubt, mimic the natural blush within cheeks. Apply a few test swipes along the apples. The shade should enhance that flushed, pinched appearance. Also check undertones against teeth and whites of eyes.
The Ideal Blush Formulas
Powders, creams, gels, and liquids achieve vastly different blush effects. Each formula requires a customized application approach too. Knowing their strengths provides expert-level results every time.
Powder blushes add a soft, diffused flush. They layer easily over powders and liquids alike. Creams deliver a radiant, dewy glow. These require emollient-based bases or primers underneath.
Liquid and gel blushes provide intense, long-wearing pigment payoff. The concentrated formulas easily transform from sheer to full coverage. These work beautifully on bare skin or over lightweight bases.
Prepping Skin for Blush Magic
Before swiping on blush, prep skin first. This crucial step enhances adhesion and lasting power. It also impacts the overall blush effect achieved.
Matte foundations and powders create a flat, soft-focus canvas. Blush will appear subtle and diffused overtop. Satin or dewy complexion products increase dimension. They allow blush pigments to radiate and glow.
For a seamless, natural flush, apply blush over bare skin whenever possible. Or at least buff sheers out thoroughly first. This allows true skin to show through. It creates the most fresh, believable finish.
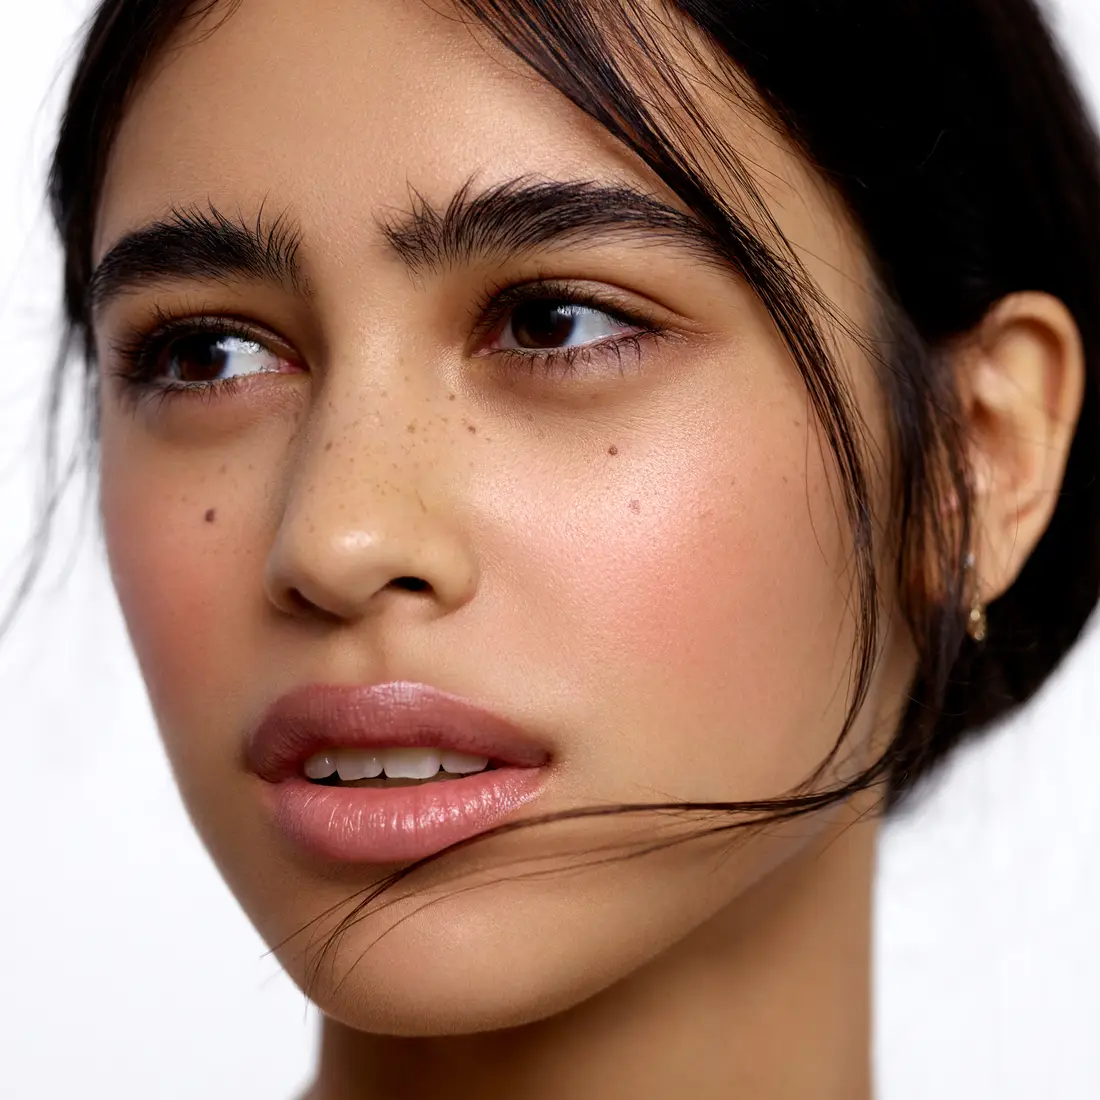
The Flattering Placement Zones
Blush placement makes or breaks the entire look. Placed too low or far back on cheeks, it drags features down. Too high up toward temples results in a harsh, dated effect.
Start by smiling and locating the apples of cheeks. This fullest area remains the prime real estate for blush. Concentrate color here while diffusing it outward in all directions.
Follow the hollow cheekbone line too. Connecting the blush back toward ears and down along jawline creates lift and definition. It subtly sculpts while looking flattering and youthful.
The Best Blush Application Tools
Using the proper makeup tools makes all the difference too. These deliver an expert, professional-level finish every single time.
Stippling brushes work best with powder blush application. They deliver an airbrushed, diffused effect. Dense kabuki brushes pick up and apply color smoothly and evenly.
For cream formulas, utilize dense synthetic brushes or makeup sponges instead. The dampened textures sheer out the pigment seamlessly without disturbing base makeup underneath. Apply with fingers for the most natural, skin-like diffusion.
Doe-foot blush wands simplify liquid blush application too. Their curved shape hugs cheekbones beautifully. Simply dab and blend in the hollows before diffusing outward with a brush or sponge.
Powder Blush Blending 101
Powders provide a gorgeous, subtle wash of color. The key lies in starting light and slowly building up pigment.
First, lightly swirl the brush into the blush pan. Remove excess powder by swirling it over a tissue. The brush should appear slightly tinted at most.
Smile and apply the powder to the apples of cheeks first. Then sweep the brush up toward hairline, down along cheekbones, and back toward ears. Layer additional color as desired.
Finally, use a clean blush brush to diffuse harsh lines or edges outward. This fuses the pigment into skin flawlessly. For sculpting, concentrate more powder blush underneath cheekbones.

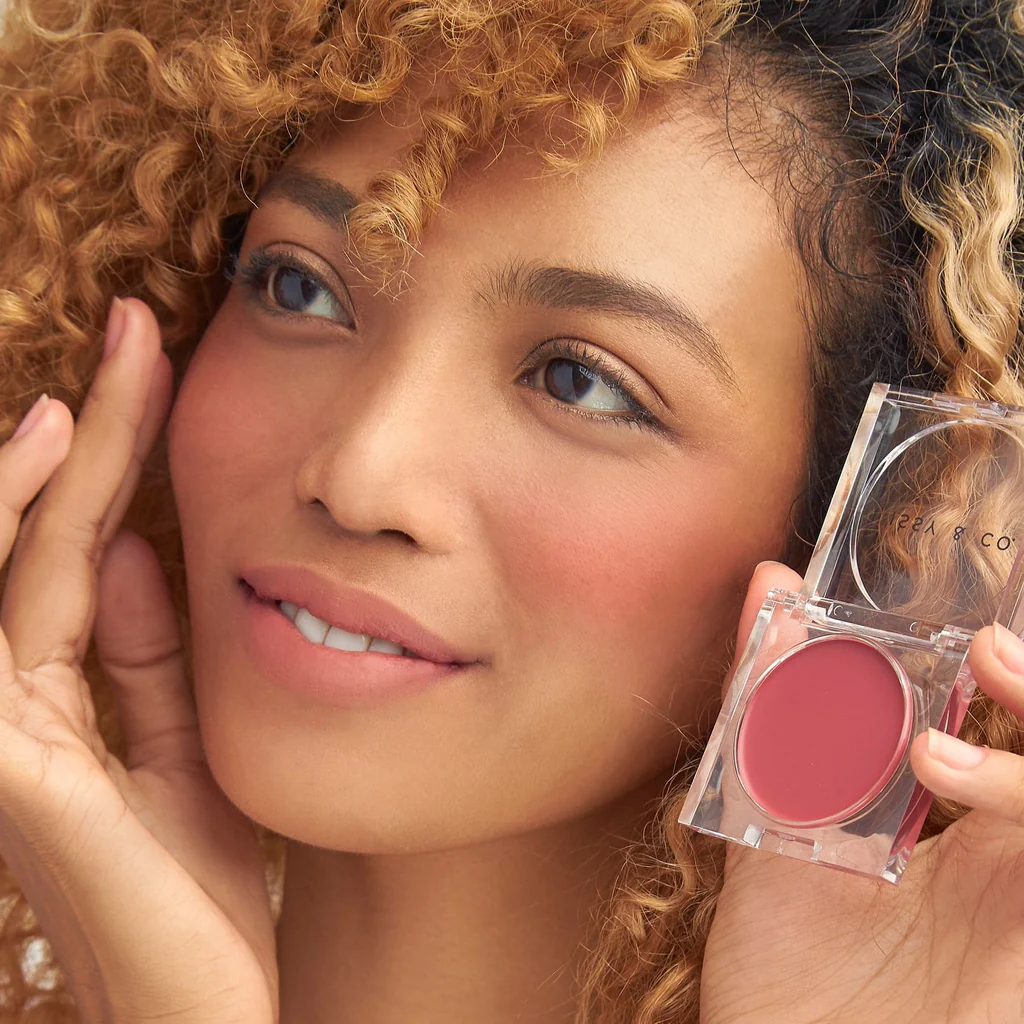
The Foolproof Cream Blush Technique
Creams offer a radiant, dewy pop of color. Their rich textures create a fresh, flushed glow even on mature skin.
Always prep with a moisturizing base first. Dab the cream over it while still plump and emollient. For subtle results, sheer out the product with a damp makeup sponge.
For bolder looks, use fingers or a brush to layer and build coverage as desired. Focus pigment on the apples and along cheekbones. Buff outward to create dimension and lift.
Take it a step further by layering cream over powder blush too. The formula melds both pigments together into a radiant, multidimensional flush.
Seamless Liquid Blush Application
Liquid and gel blushes deliver high-impact color payoff with ease. Their fluid textures diffuse and blend seamlessly into skin too.
Always start with a small amount first. These potent pigments pack a major punch. Concentrate color on the apples of cheeks. Then use a dense face brush or sponge to diffuse and blend outward.
Tapping with a damp makeup sponge sheers out intense pigments beautifully. Sweep the sponge outward to sculpt and define. Layer additional product as needed for full, lit-from-within radiance.
Finish by setting liquid blush with powder for extended wear. A veil of translucent powder locks color in place all day long.
Finding the Right Level of Intensity
Most makeup mishaps occur from applying too much blush. A heavy-handed application results in harsh, exaggerated effects.
Stick to the “smile” and apple zones first. This strategic placement delivers a soft, flushed finish. Build pigment slowly and outward from this central point.
Utilize cream and liquid formulas sparingly on smaller faces. Their intense payoff can appear overwhelming quickly. Fair skin tones require a lighter hand too. A subtle tint looks most natural and glowing.
Radiant Blush for Different Face Shapes
Applying blush with specific face shapes in mind flatters features even further. Simple adjustments to placement and blending angles make a major impact.
For full, round faces, sweep blush higher toward temples and hairline. This creates the illusion of a slimmer, lifted effect. Then blend outward toward jawline and chin.
Long or narrow face shapes benefit from a more condensed, concentrated blush application. Focus most of the pigment directly over the apples of cheeks. This flattering technique broadens and shortens an elongated visage.
Those with angular, chiseled bone structures can apply blush lower down below cheekbones. This accentuates strong definition even further. It imparts a striking, sculpted radiance.
Post-Blush Perfecting Touches
After applying blush, a few quick touch-ups polish the final look. Taking this extra step marries blush with the rest of the complexion flawlessly.
Dust a light finishing powder over the entire face first. This softens harsh edges or concentrated areas of color. It creates an airbrushed, flawless effect.
Next, stipple a luminous cream or liquid highlighter over the tops of cheekbones. This amplifies the radiant, lifted impact from blush even further. For maximum glow, layer a loose shimmer powder on top too.